Write an article about
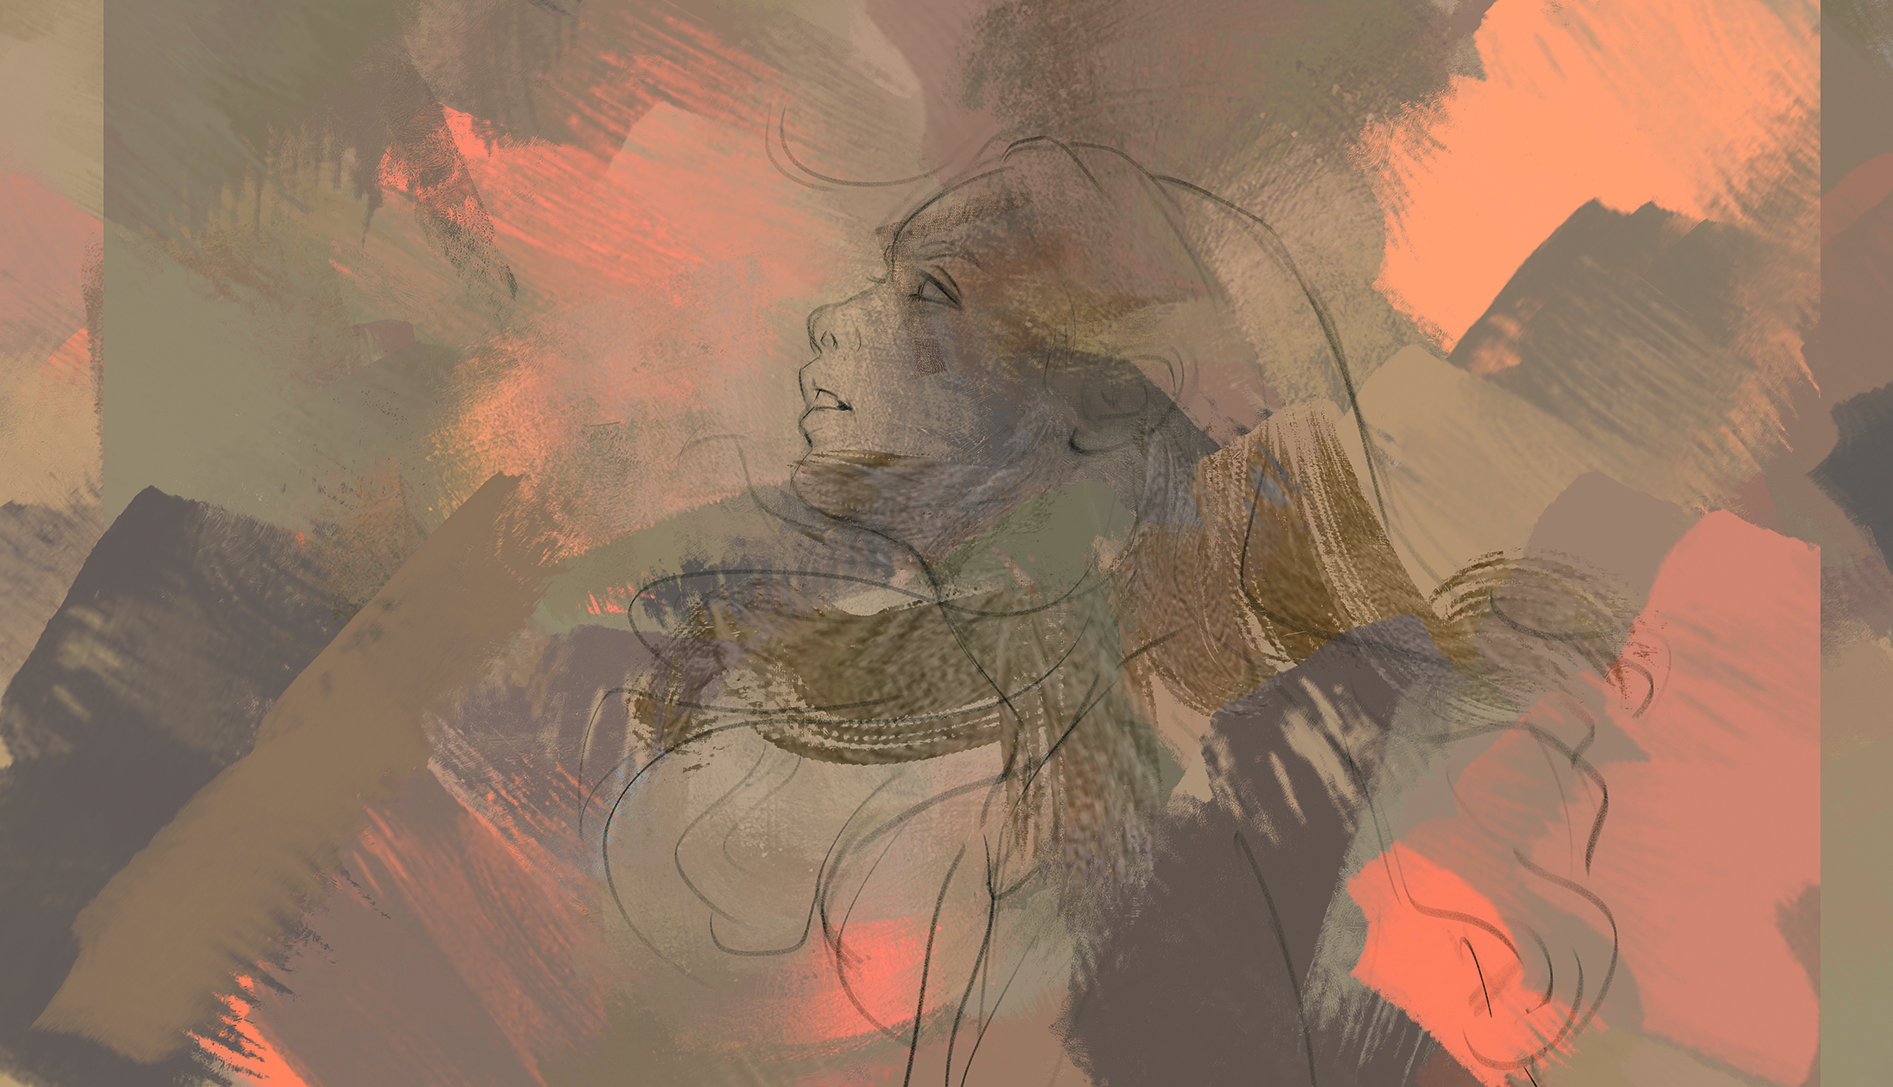
I love the playful textures that emerge when painting with traditional media, but I also enjoy the ease and versatility of digital painting. In attempting to combine the two, I’ve experimented with recreating that feel of textured brushstrokes digitally. Two of my favourite tools are Photoshop’s Pattern Stamp and Mixer Brush.
Pattern Stamp lets you take any image and literally stamp it onto your digital canvas, which can create interesting textures by itself. We can further refine and morph this by using an interesting Pattern Stamp configuration as a base for the Mixer Brush, which can be used to pick up any assortment of colours already on your canvas and use them as a brushstroke, much like picking up a mixture of oil paints on a traditional brush.
You may like
Mandy Jurgens
Social Links Navigation
Mandy is a professional freelance illustrator and teacher specialising in creating portraits and developing character designs. She is an expert in Photoshop and digital art techniques.
01. Preparing your sketch
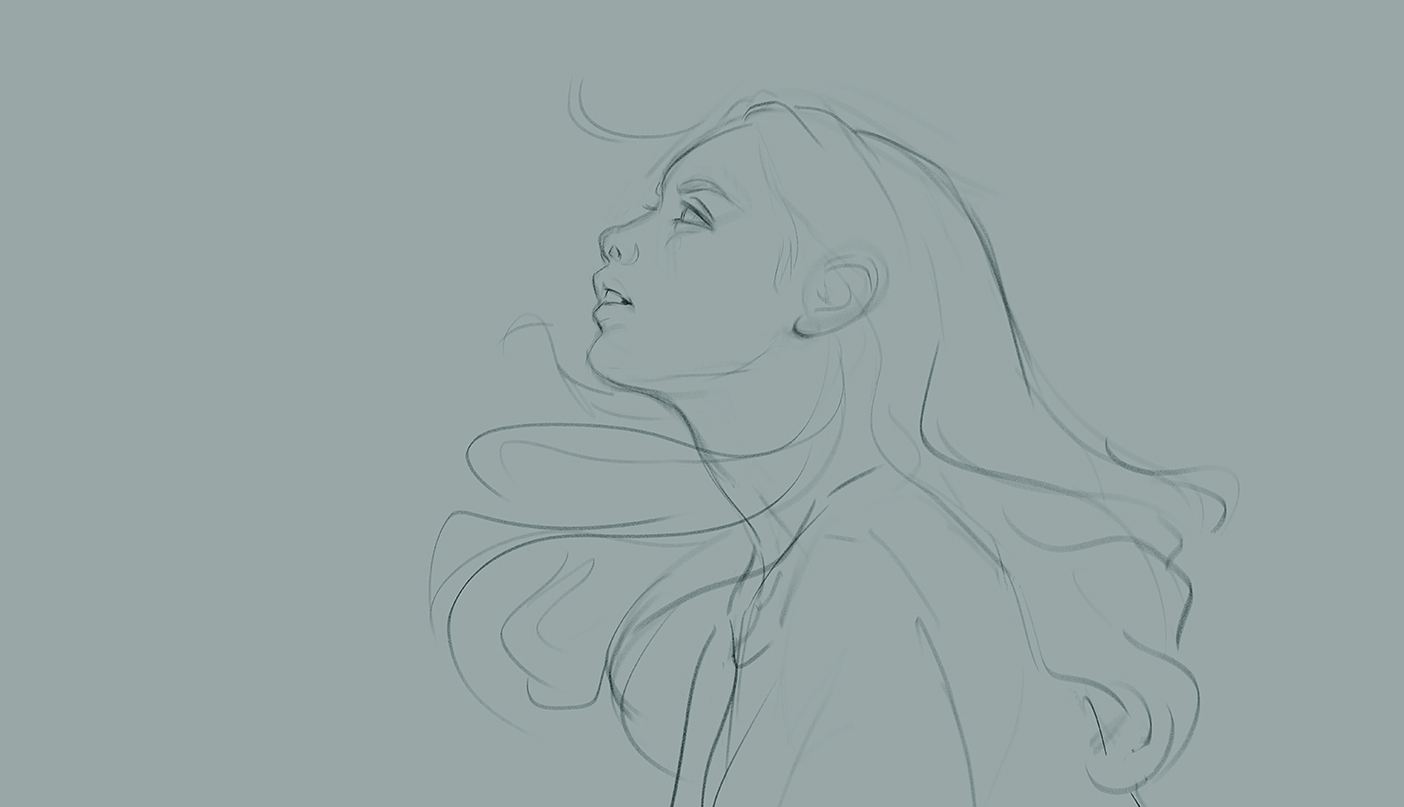
(Image: © Mandy Jurgens)
To start, I usually create a sketch of whichever subject I plan to paint. Leave your sketches fairly rough, and allow the final painted image to take on a life of its own. Start each new project on a 50% grey background, as it can help you to balance the colours better.
02. Trying the Pattern Stamp
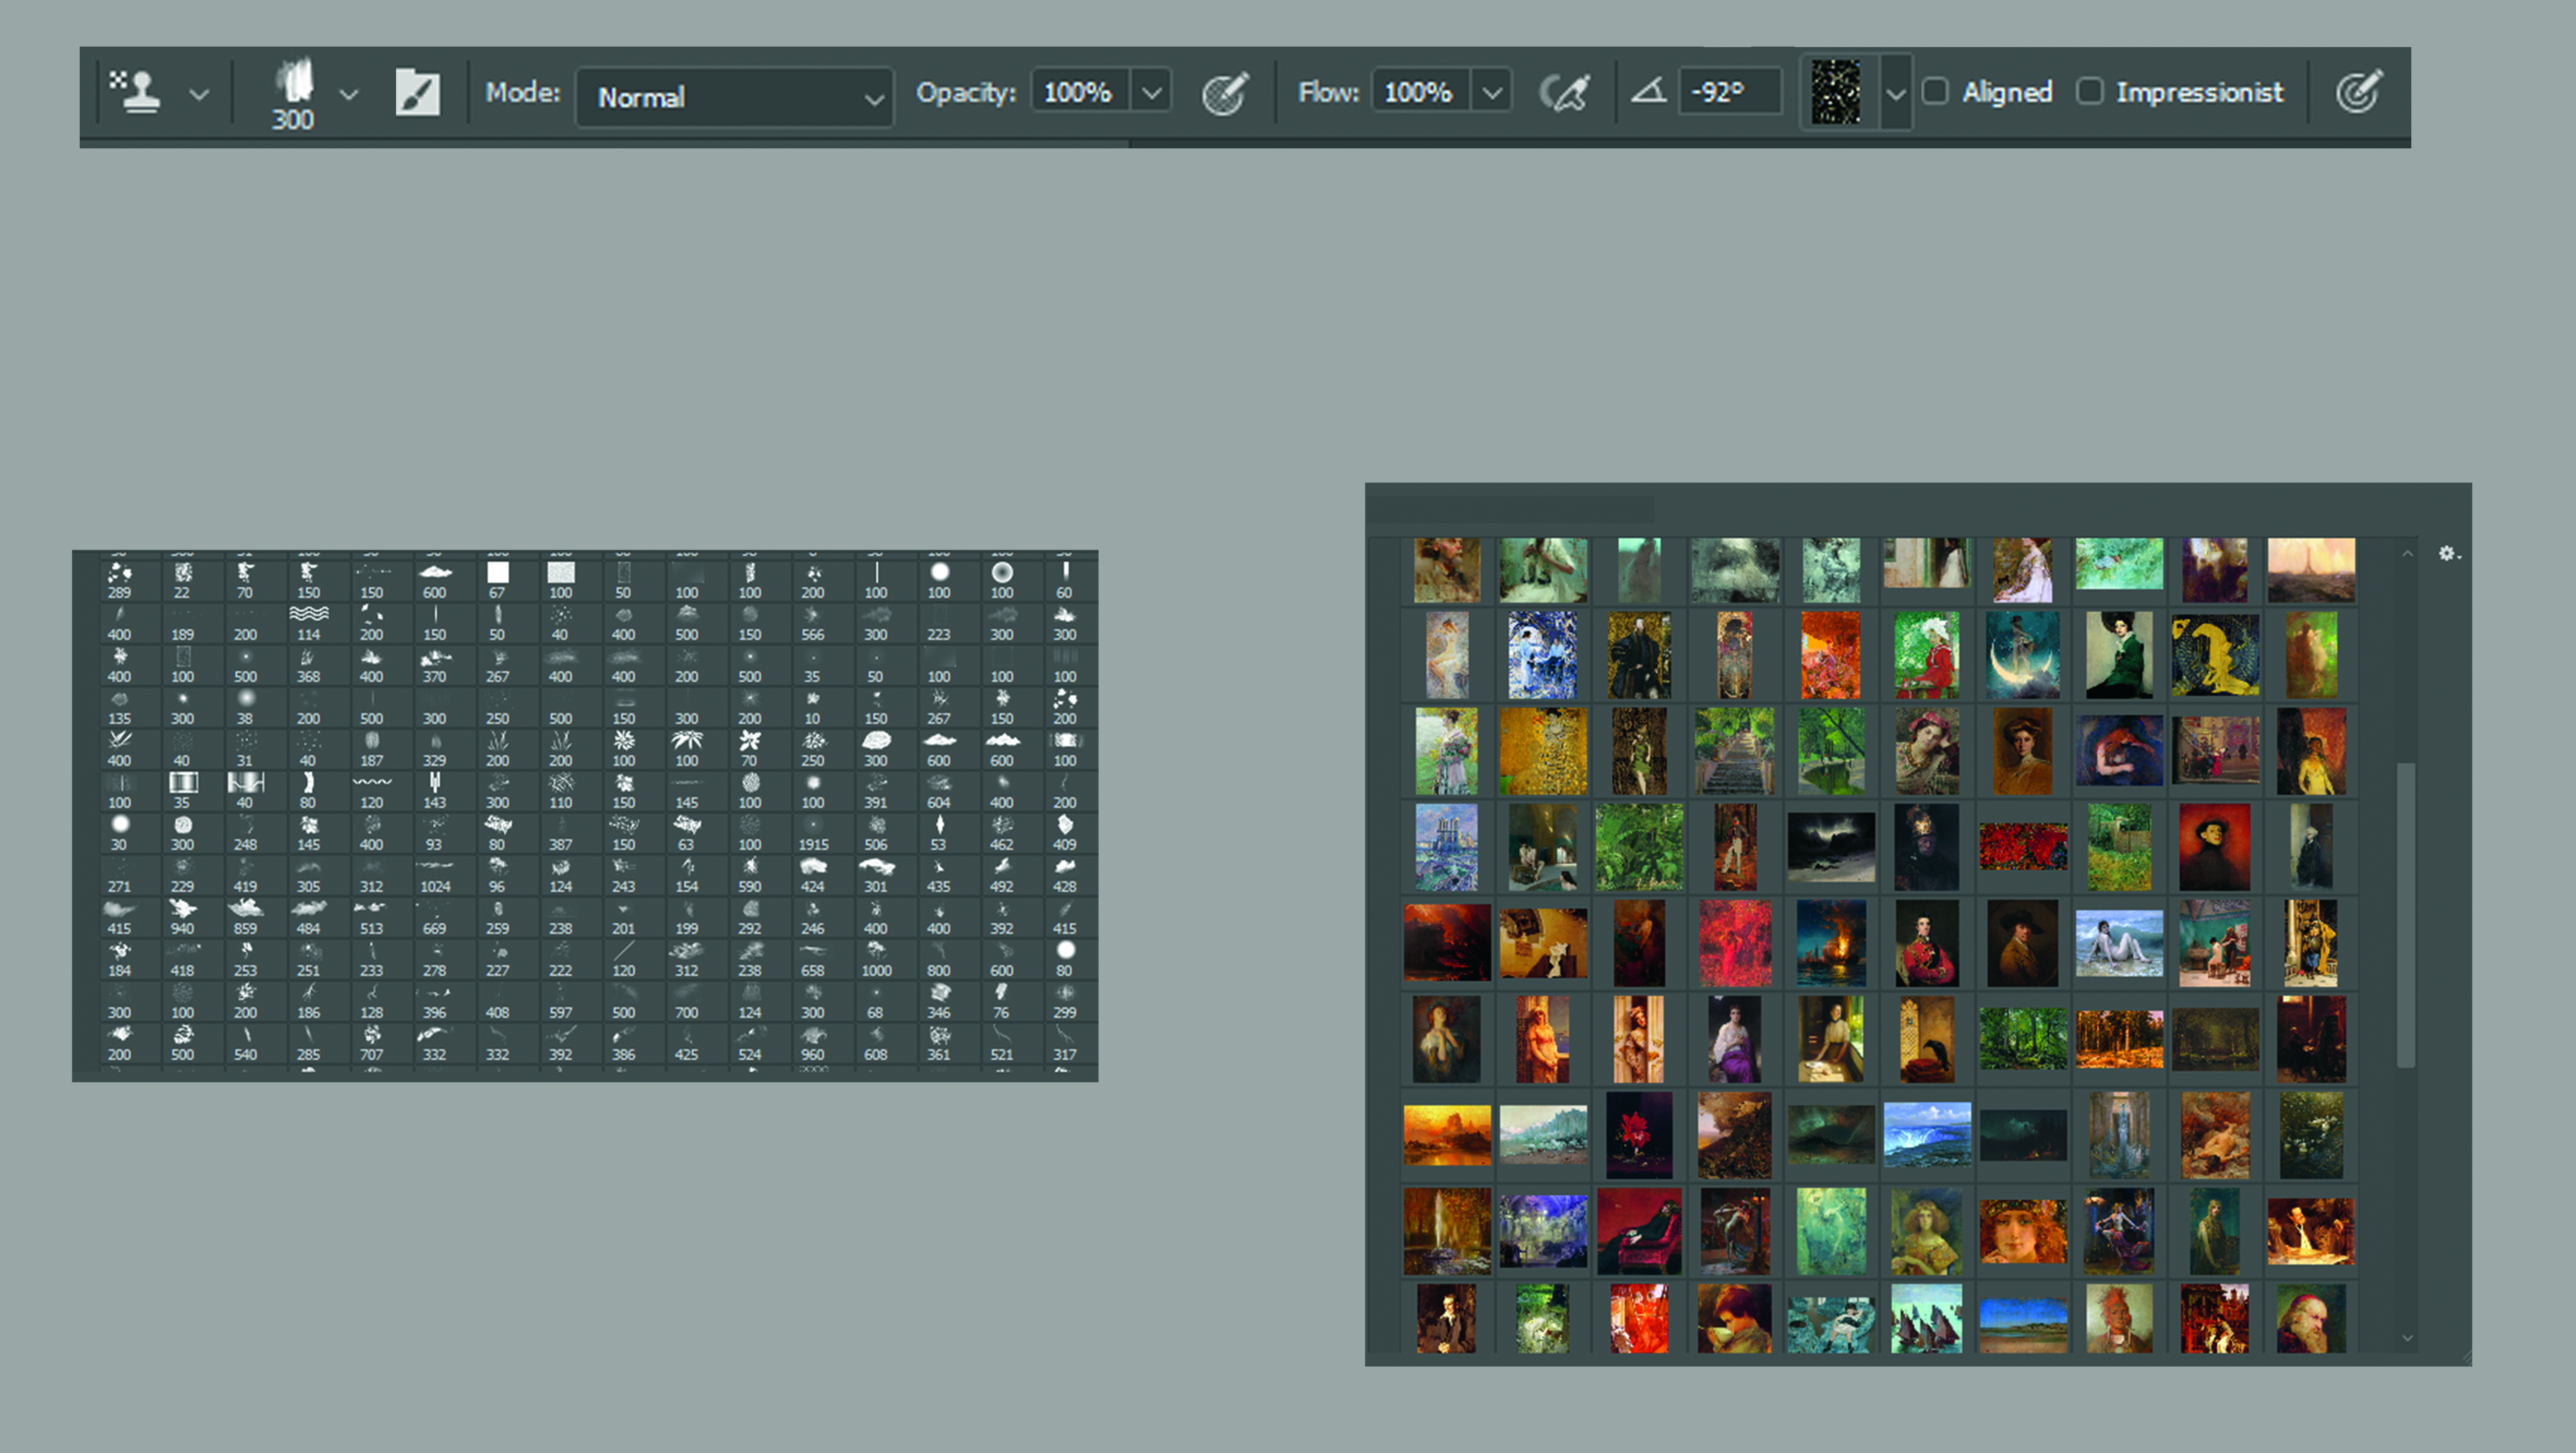
(Image: © Mandy Jurgens)
While I don’t plan out every single colour ahead of time, I usually aim to evoke an emotion within a painting. Colour is an important tool for this, and Pattern Stamp is a great tool to help you find suitable colour schemes.
To start, select the Pattern Stamp tool and you’ll be greeted by the bar pictured. You can choose any brush shape from your regular brush set for this, and you’ll also need to cultivate a set of source images.
03. Finding a source image set
(Image: © Mandy Jurgens)
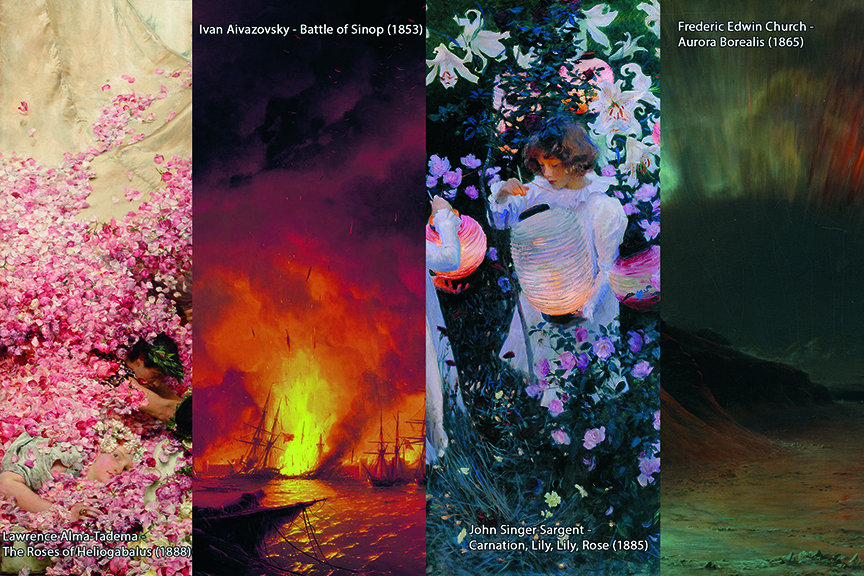
Most of my source images are paintings by old masters including John Singer Sargent, but I also have material textures, colour gradients and abstract colour pairings. You can define a Pattern Stamp image by loading up any image in Photoshop and selecting Edit > Define Pattern, which will add it to your image library. Try to use images that have a pleasing colour scheme with either light or moderate contrast.
04. Deciding on the colour scheme and mood
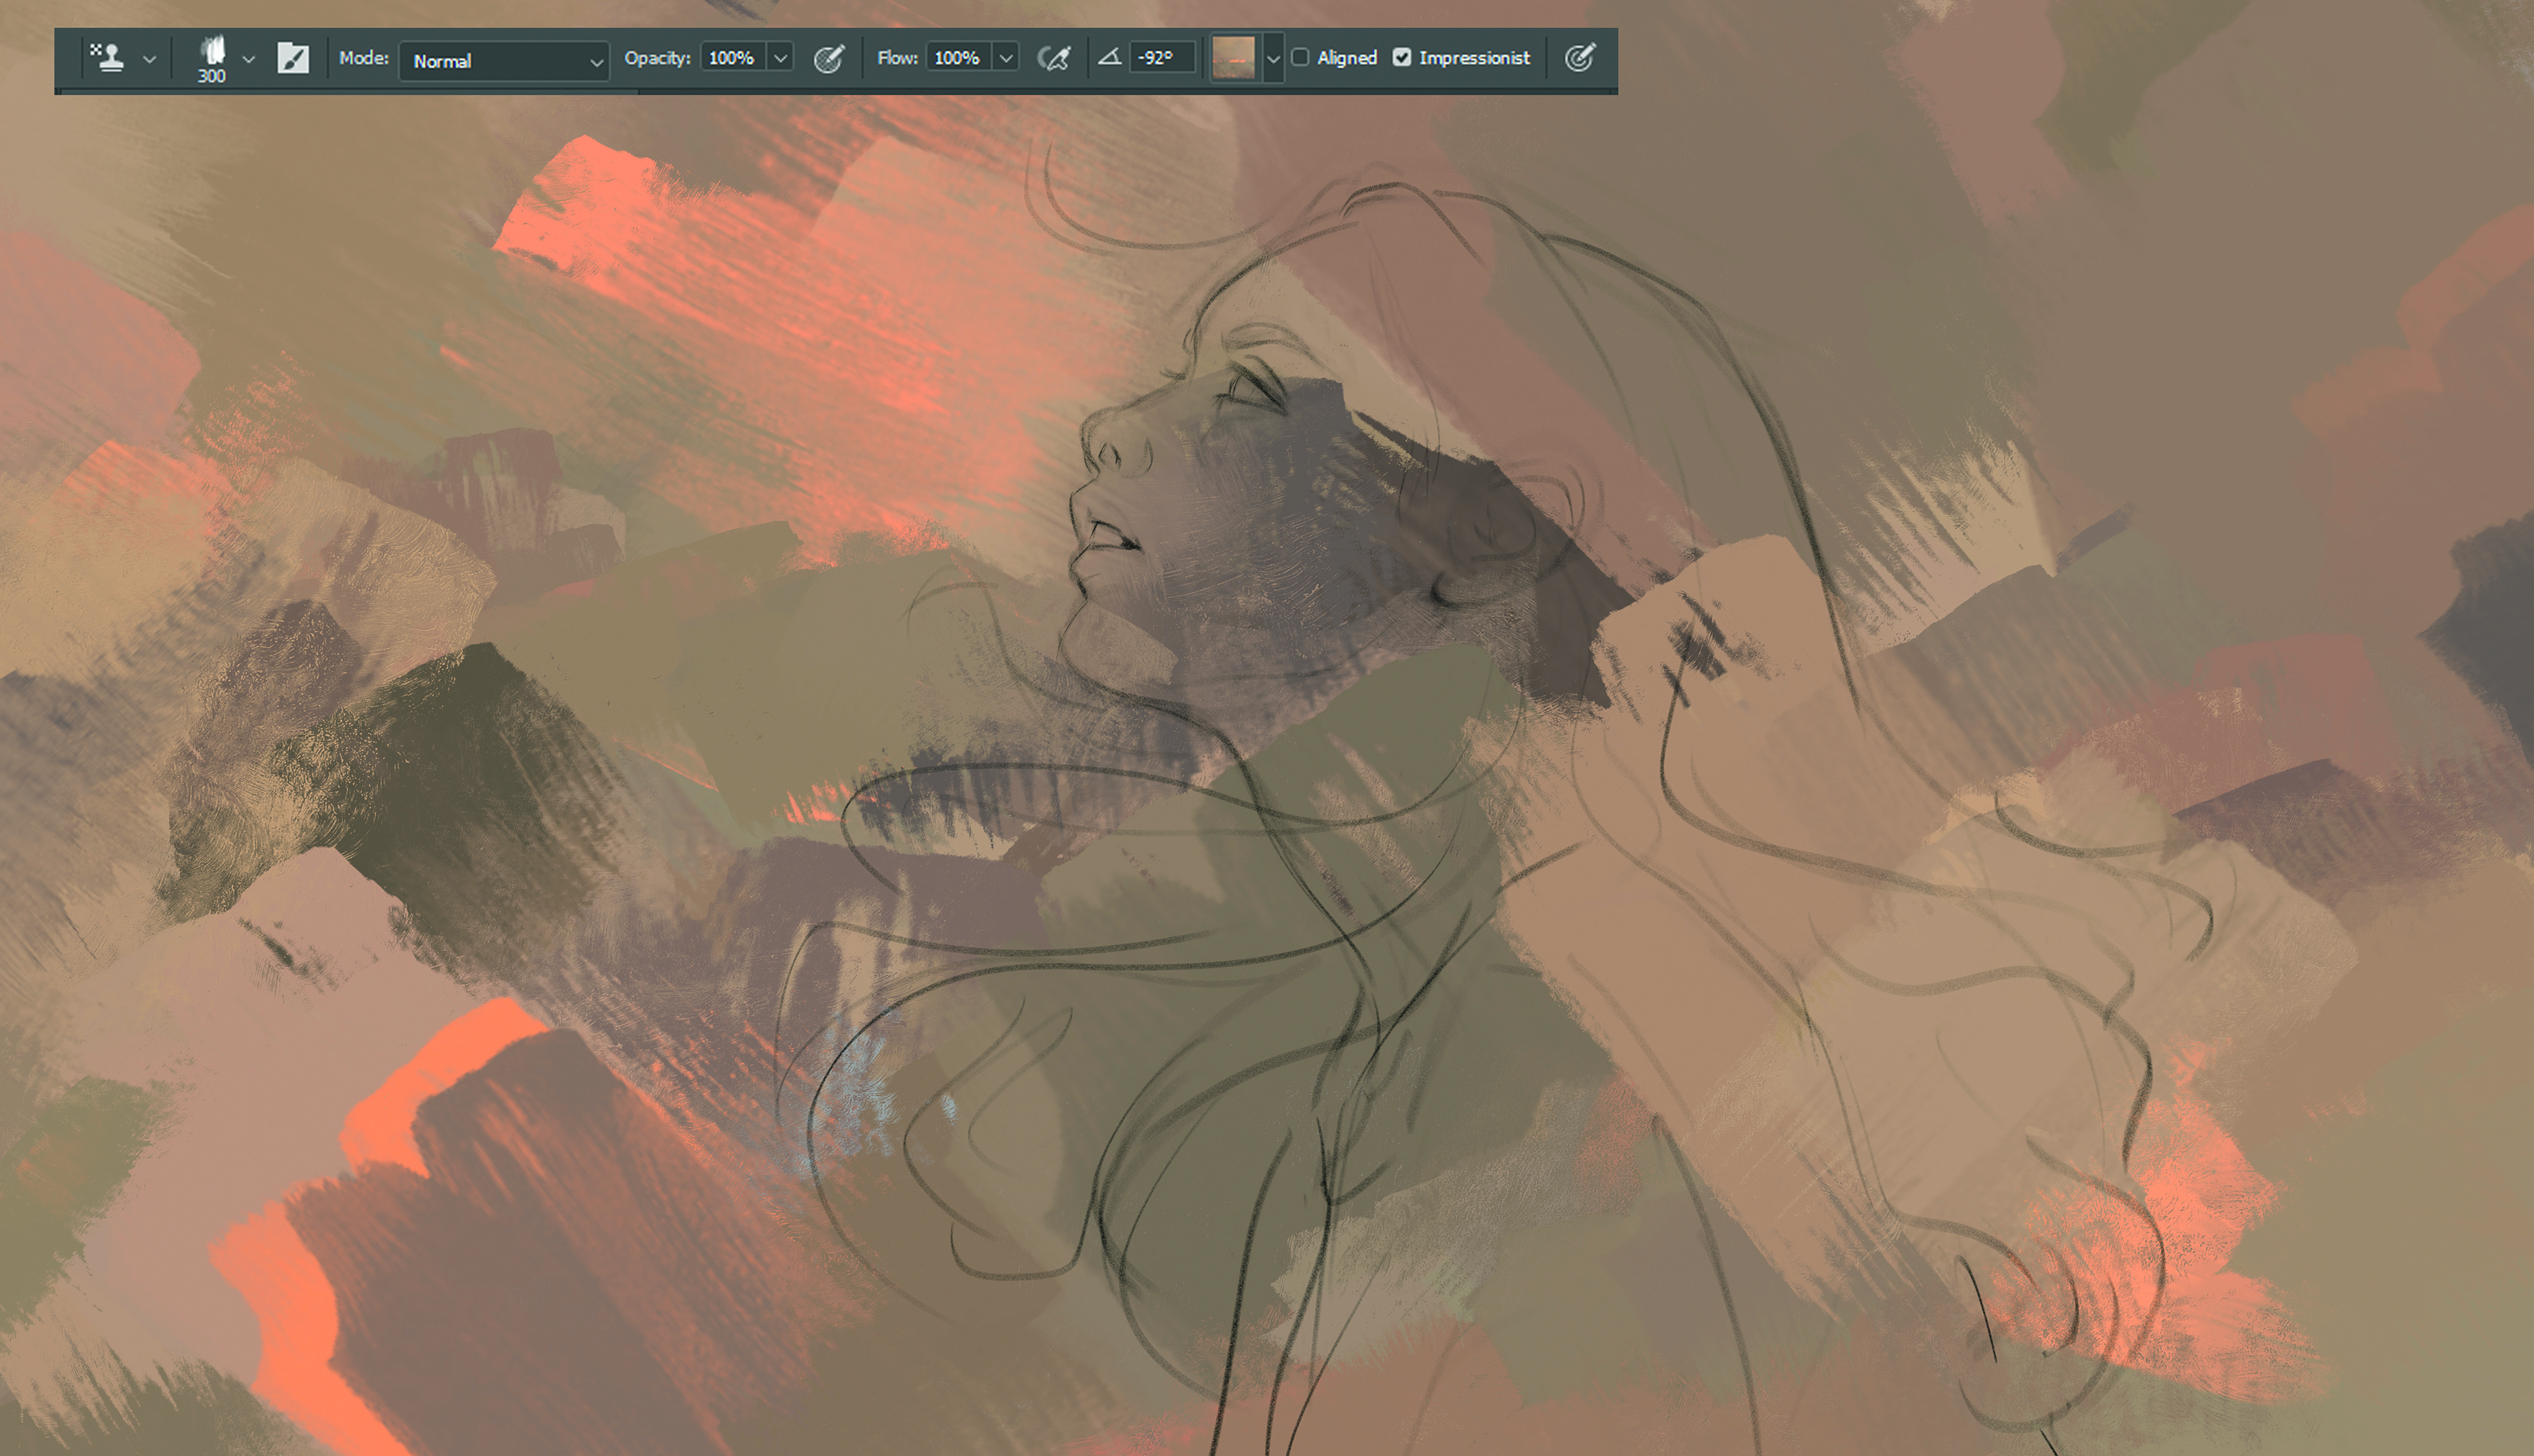
(Image: © Mandy Jurgens)
Select one of your source images, and make sure the Impressionist box is ticked. This will sample random colours from your source image and put them down with every brushstroke.
For this piece, I wanted to develop a wistful atmosphere, so I went with muted sunset colours. Make sure to colour the canvas fully, and then sample these base colours as needed to create your scene.
05. Playing around with the colours in your image
(Image: © Mandy Jurgens)
Once you have a pleasing assortment of colours on the canvas, you can refine it more by either using the same source image but with different brushes, or by selecting a different image to add some accent colours.
Be very careful with unticking the Impressionist box, as that will stamp the image as-is onto the canvas; I only use it to sample Mixer Brush textures. For my image, I also added some texture on a Luminosity layer.
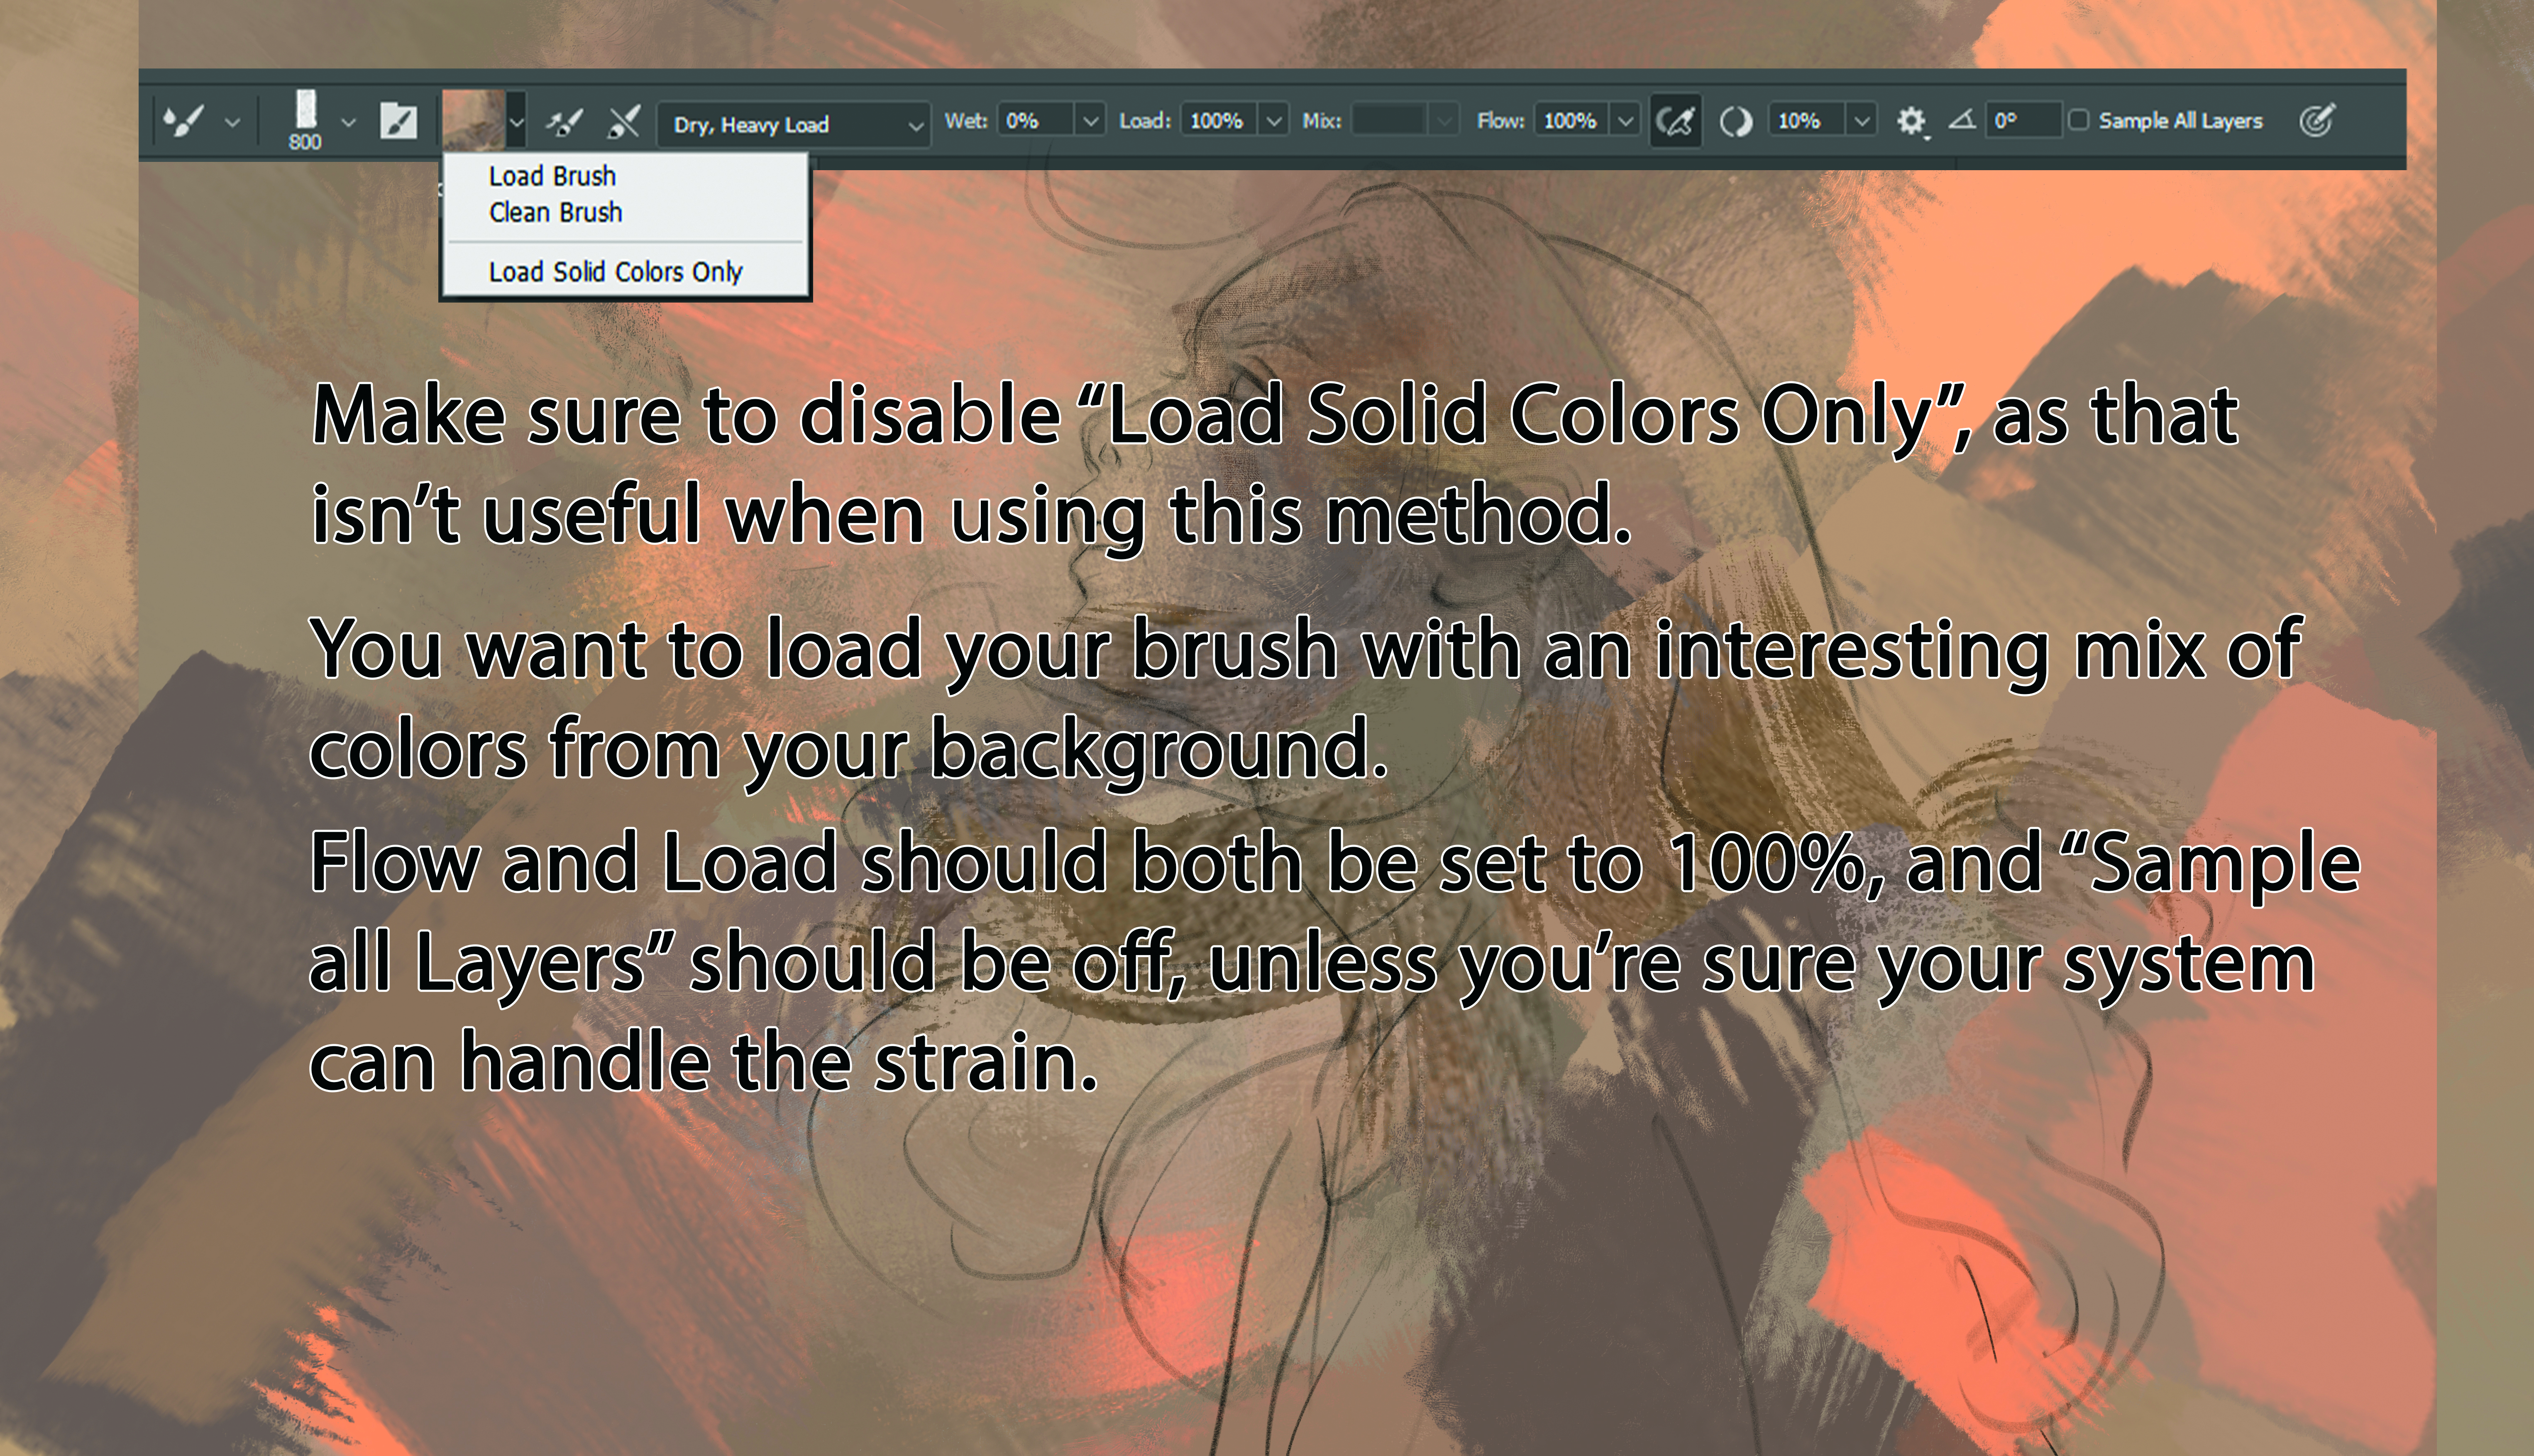
06. Moving on to the Mixer Brush
(Image: © Mandy Jurgens)
Now comes the time to create some order out of the chaos. Select the Mixer Brush tool and make sure that your Pattern Stamp background is all on a single layer.
You can use any of your brushes with Mixer Brush, and I’d recommend to almost exclusively use the ‘Dry, Heavy Load’ setting with 100% Flow. Select Load Brush from the dropdown menu, and sample a colour as you would normally. This will sample an image area.
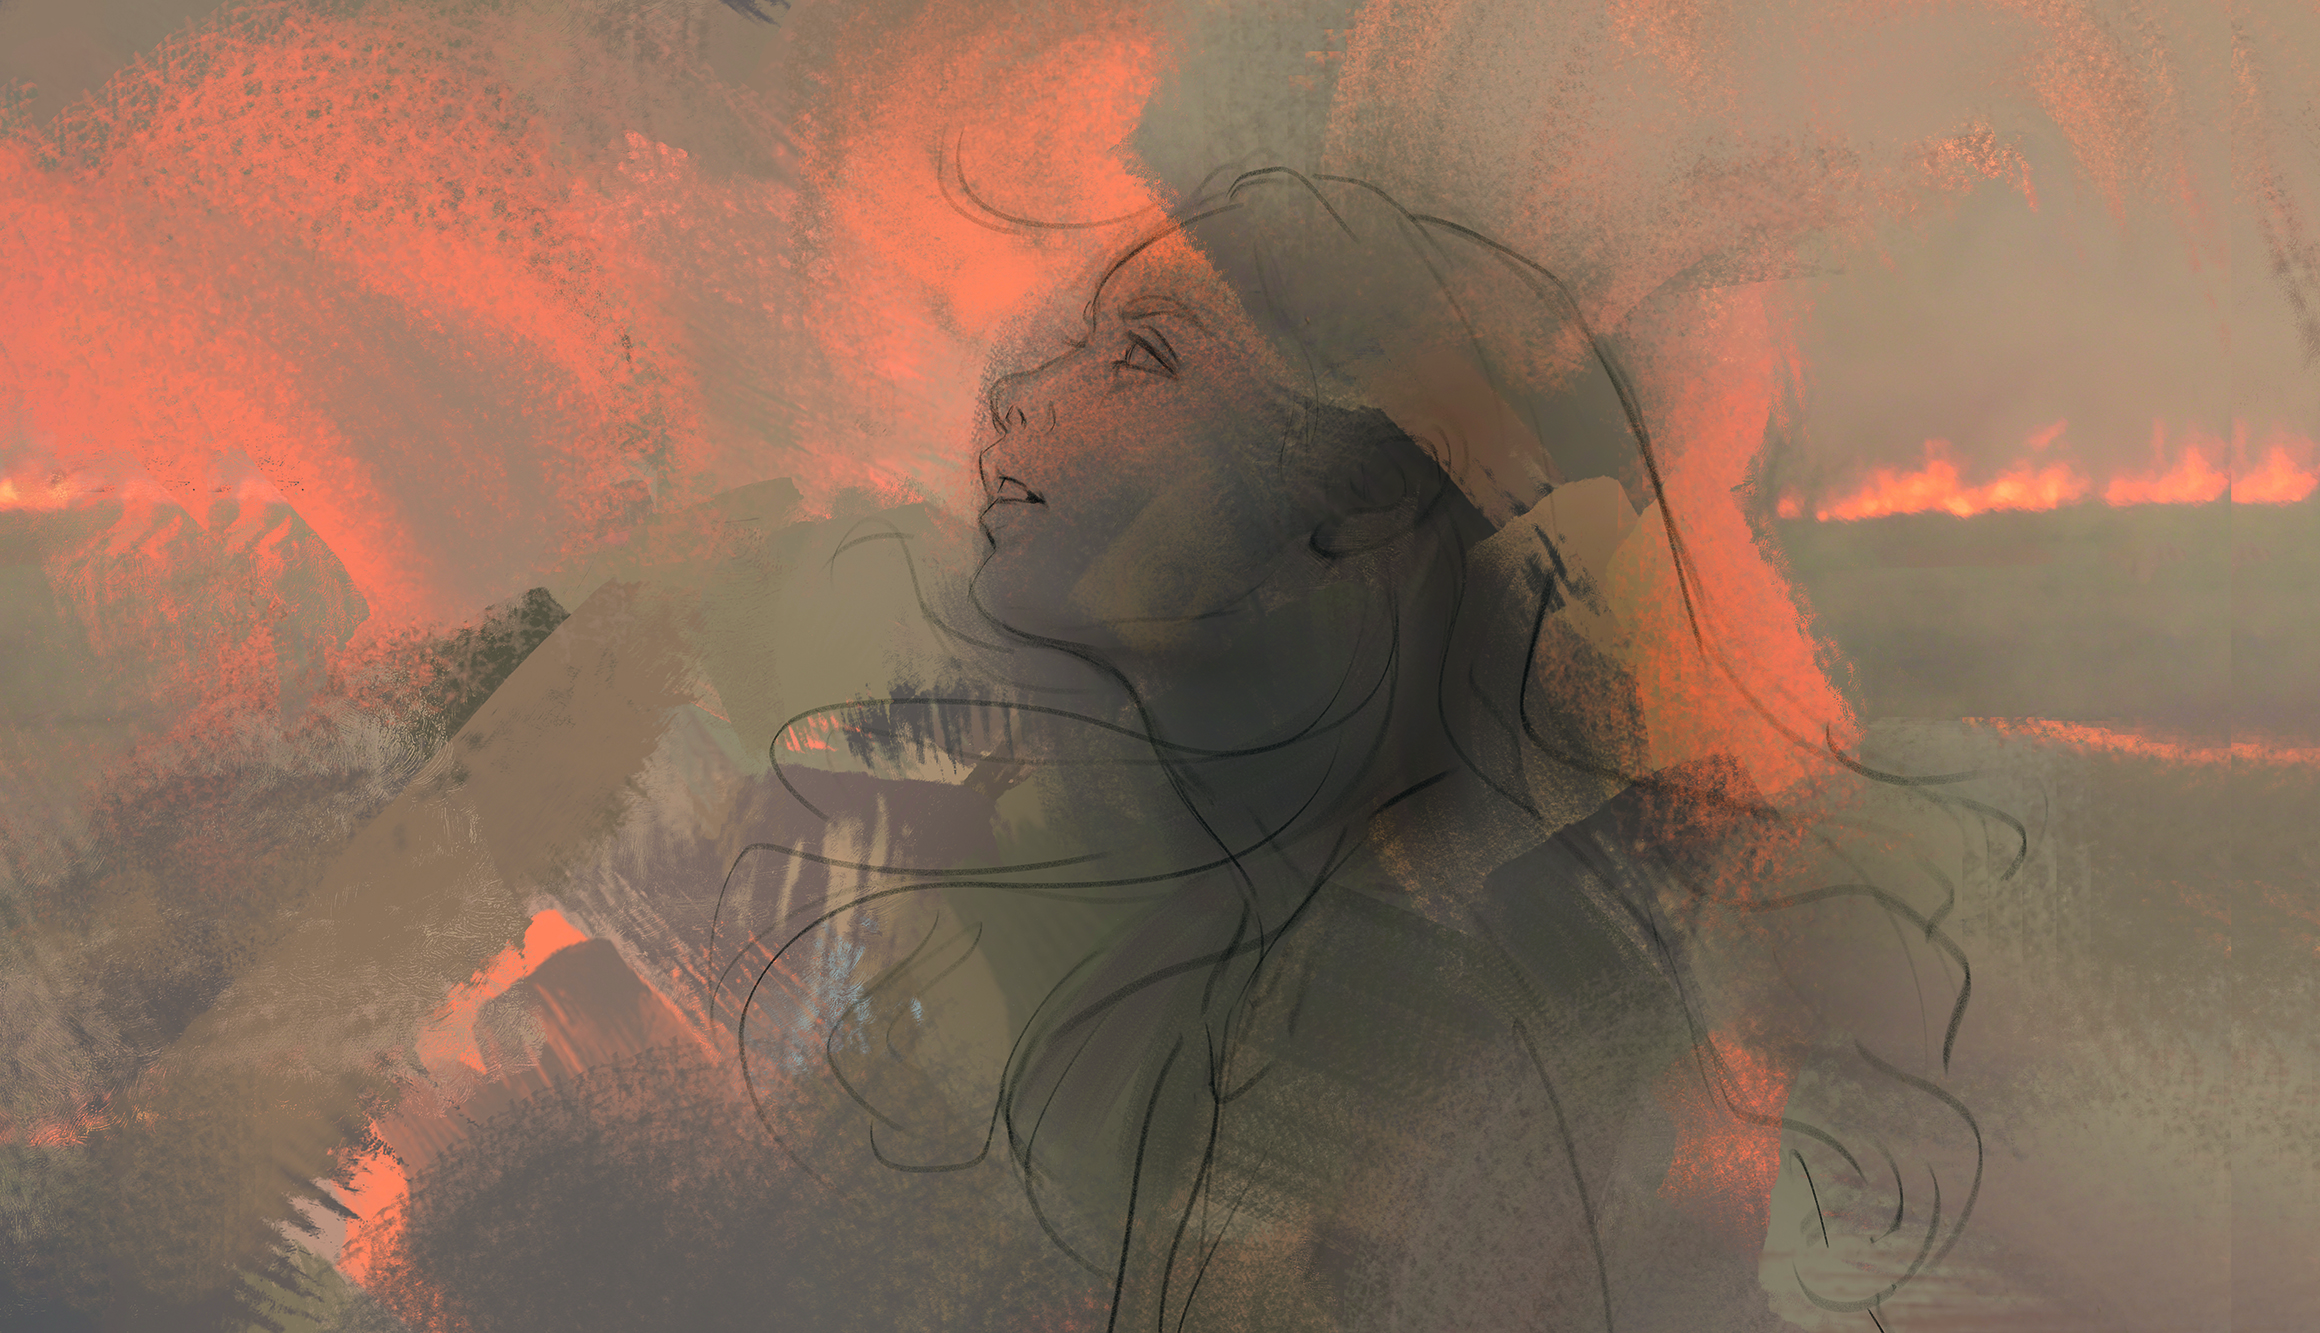
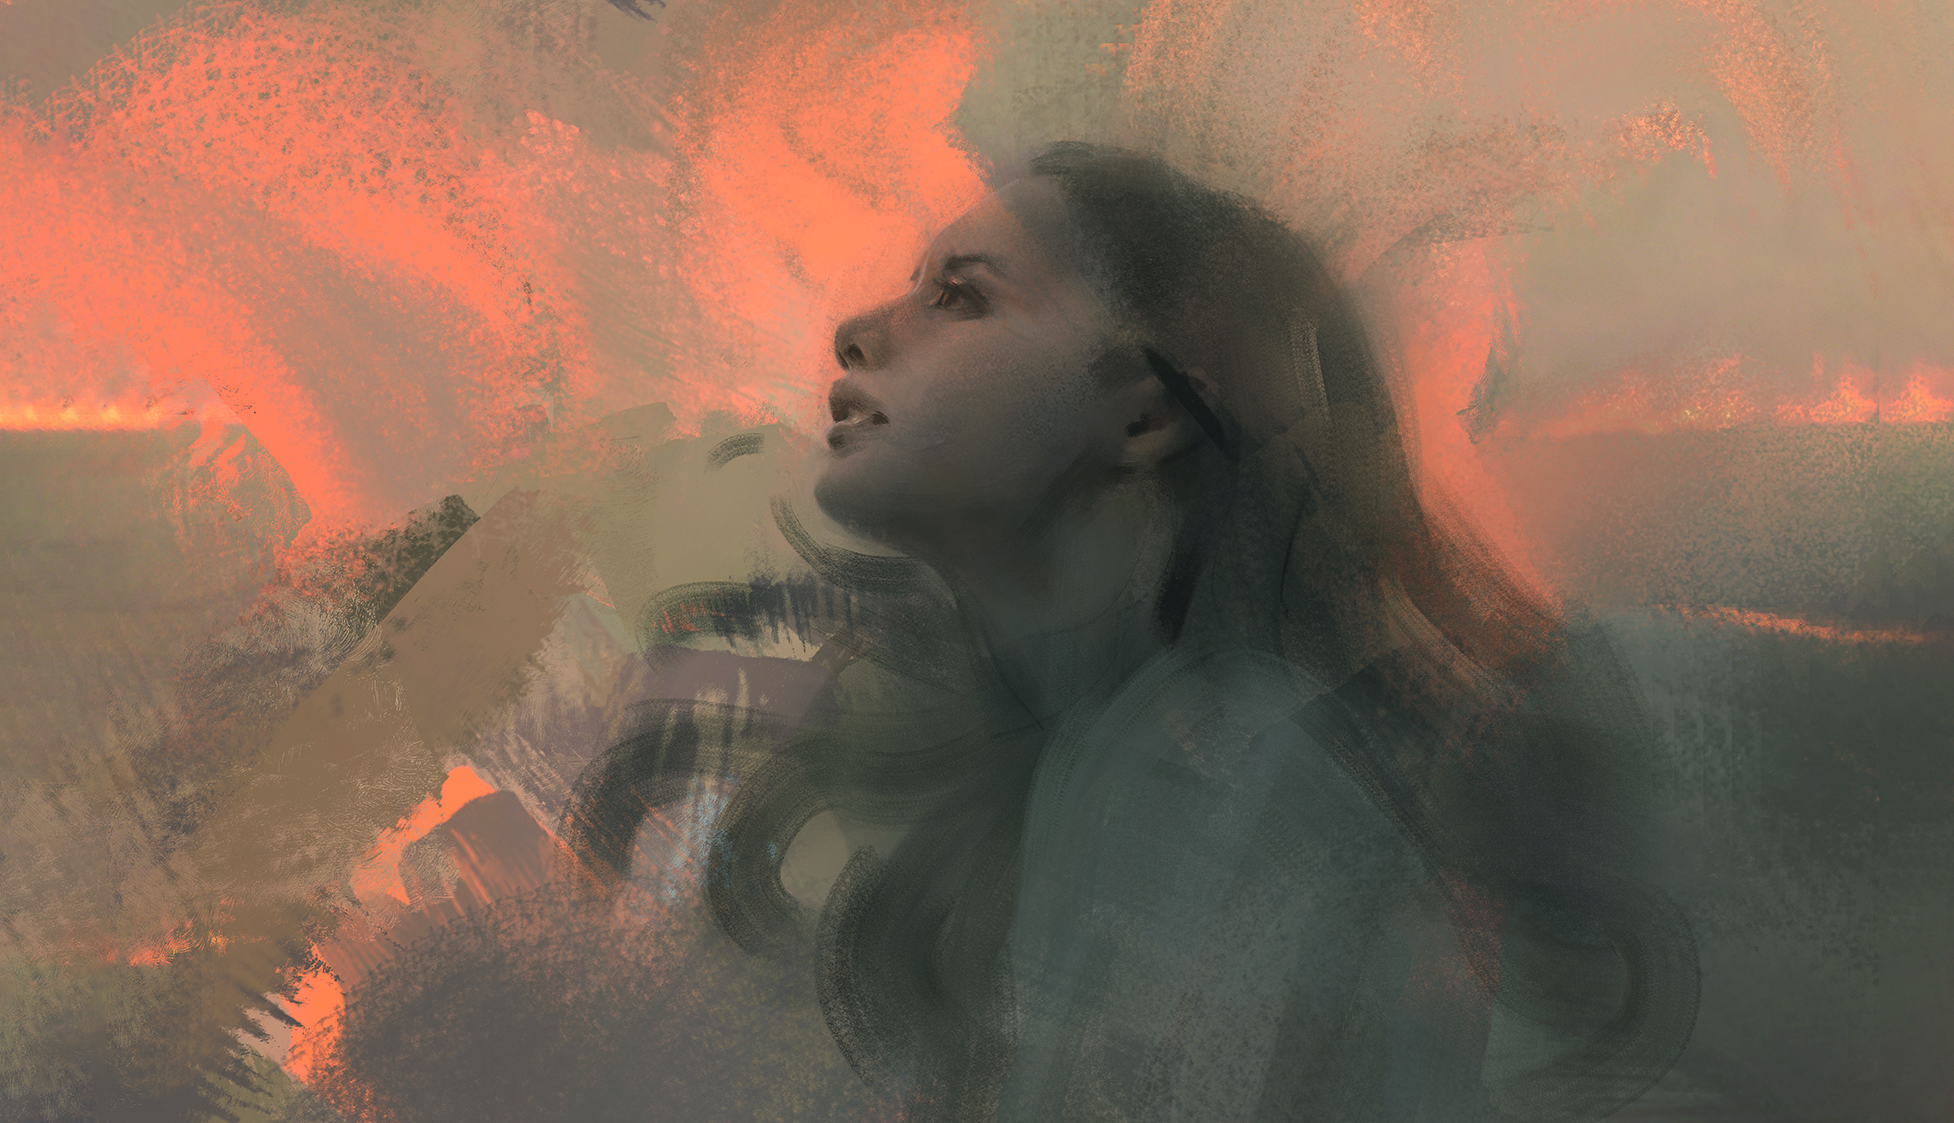
07. Getting the painting process under way

(Image: © Mandy Jurgens)
Now start laying out the major areas. We want the clouds lit by warm light to peek through behind the character’s head, and for the image to work, her head needs to contrast that by being in shadow. Use a soft, textured brush and leave some texture in the final image.’
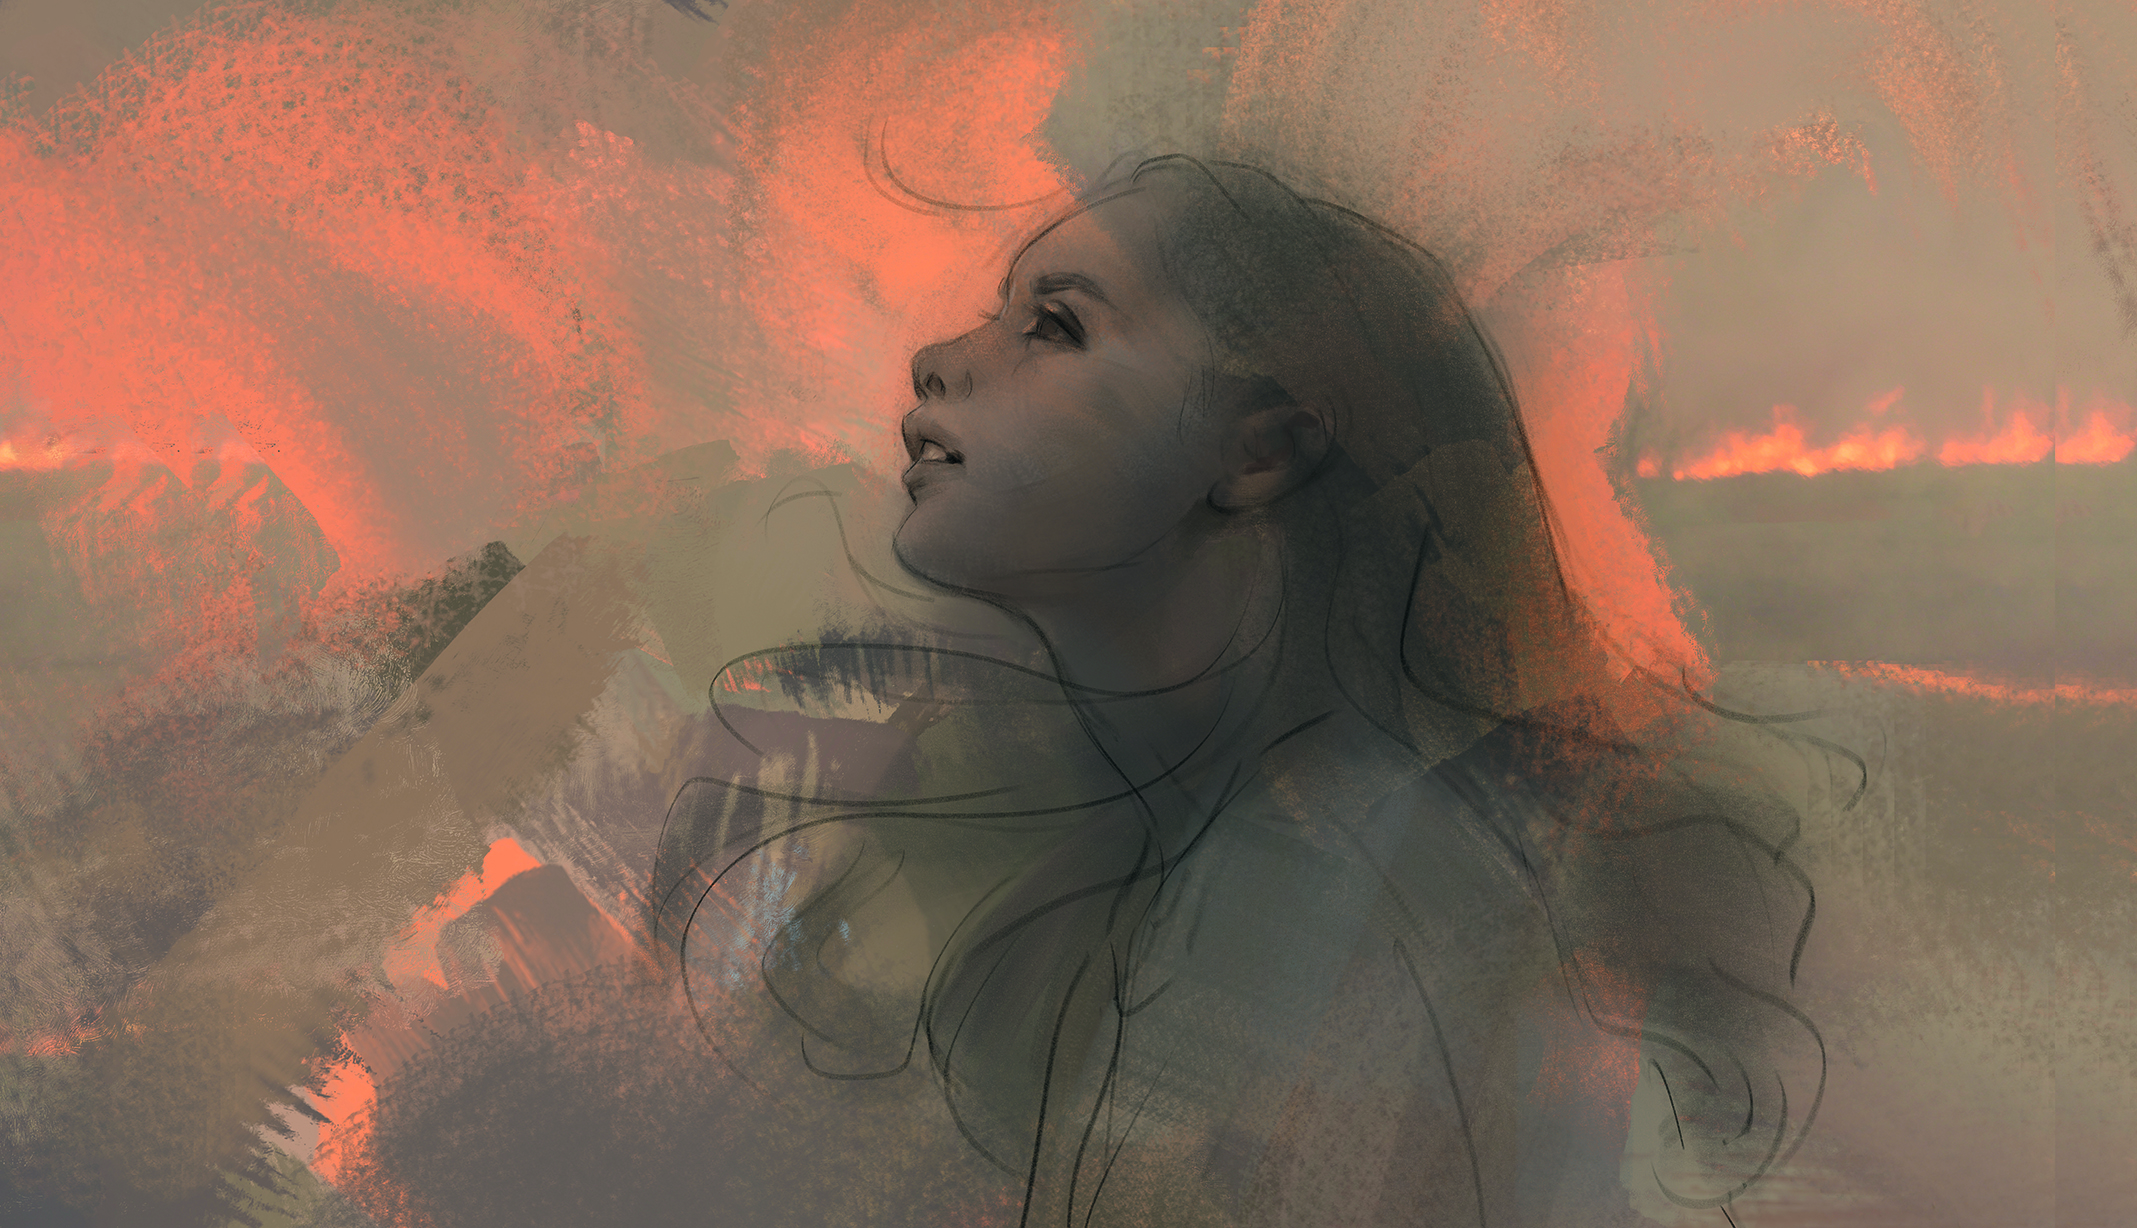
08. Blocking in the figure with extra Pattern Stamps
(Image: © Mandy Jurgens)
Add some more Pattern Stamps, this time stamping the source image directly in some areas. We’ll paint over this, but want some high-contrast areas for the Mixer Brush to pull from. We also need to decide how strong the contrast between the head and background will be.
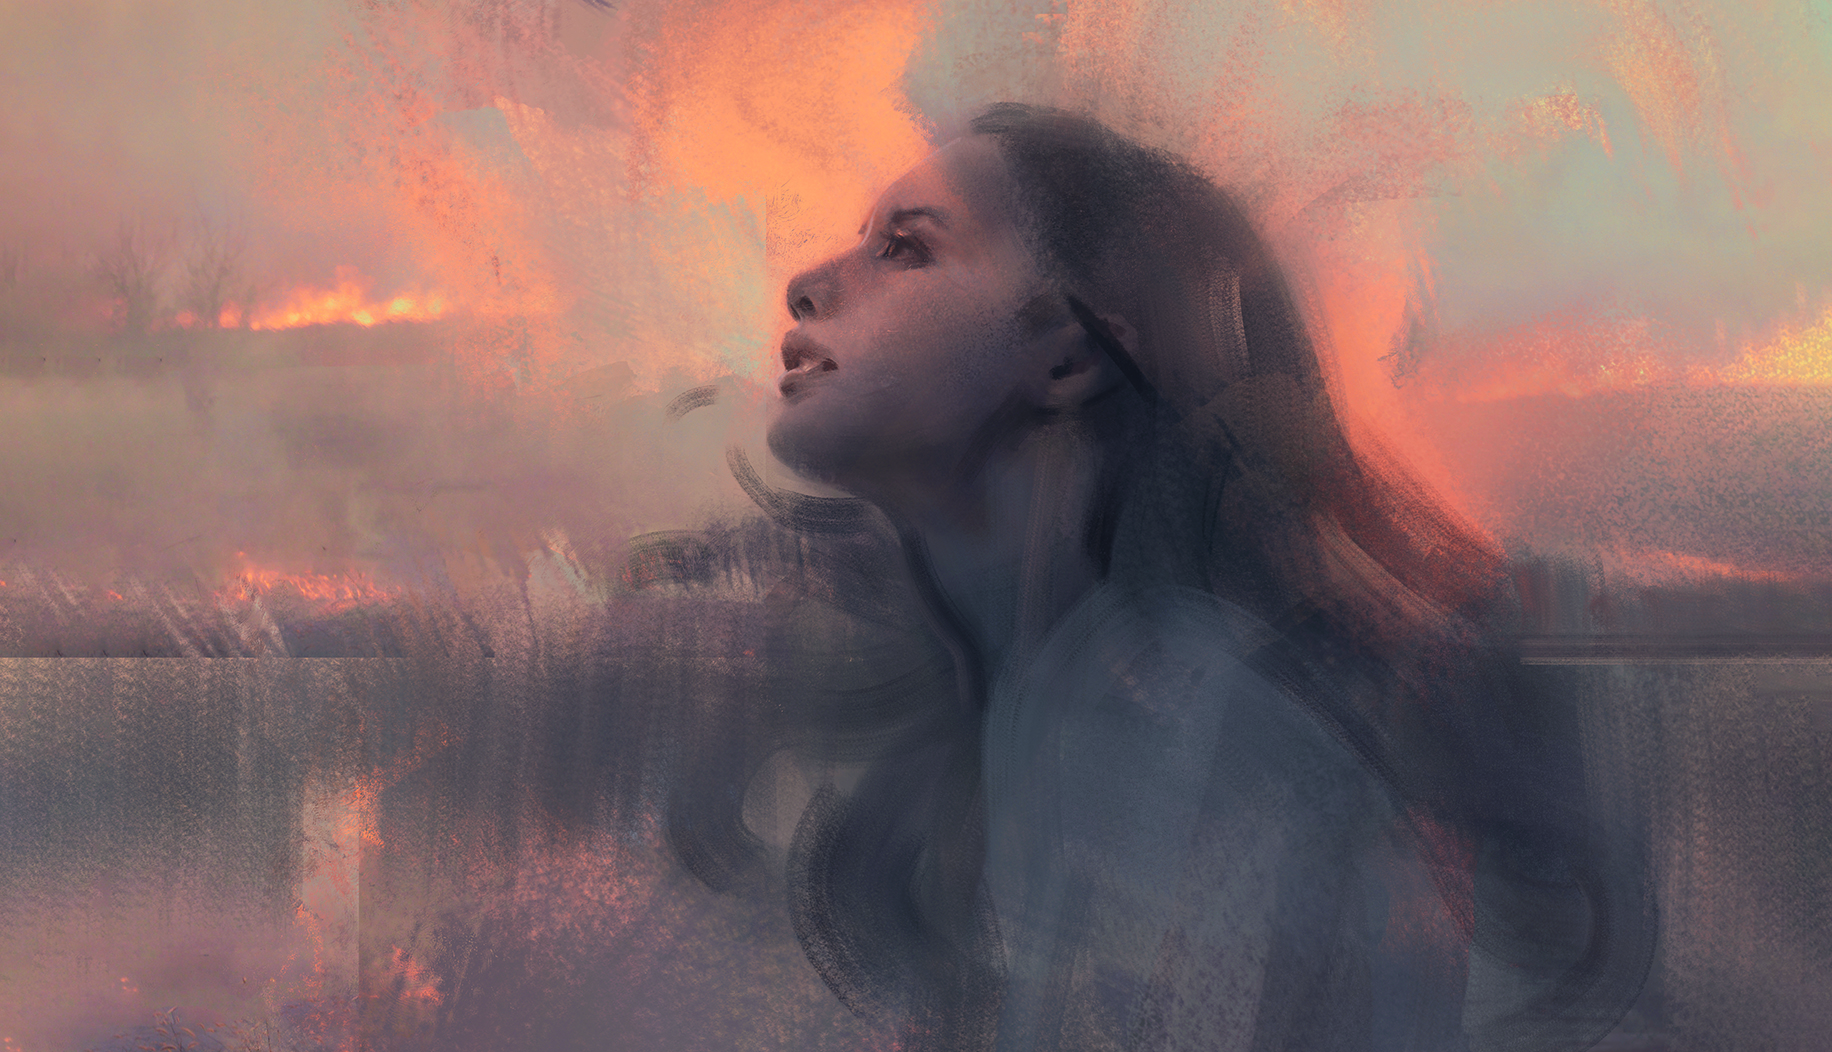
09. Detailing the face
(Image: © Mandy Jurgens)
Still only using the Mixer Brush and sampling colours and textures from our background, let’s start to paint her face. We want a small amount of ambient light to define the planes of her face, so we’ll add it to her cheekbones, forehead, chin, ear and nose; basically any facial plane that faces the sky.
10. Adding hair
(Image: © Mandy Jurgens)
At this point you could switch to the regular Brush tool if necessary for some of the facial details, but I still try to overwhelmingly use the Mixer Brush to maintain the painterly feel. Add in some broad hair strokes. The face isn’t quite right yet, so we’ll fix that in the next step.
11. Making adjustments
(Image: © Mandy Jurgens)
I decided to add an abstract body of water behind the character to give structure to the image.
To do this, mirror the sky and copy it to the bottom half of the image, then use the Mixer Brush on top.
Use Liquify to fix some of the proportions, and then bring in a Levels adjustment for contrast and a Selective Color adjustment to bring out some of the blue-greys.
12. Refining the details

(Image: © Mandy Jurgens)
Make another pass at refining the facial features and decide how abstract to keep the piece. Mixer Brush techniques lend themselves to painterly styles, so we want to keep the image somewhat rough and not add too much detail.
I lightened the background areas a little, as I liked the piece’s flow and don’t want to break it.
13. Making further tweaks
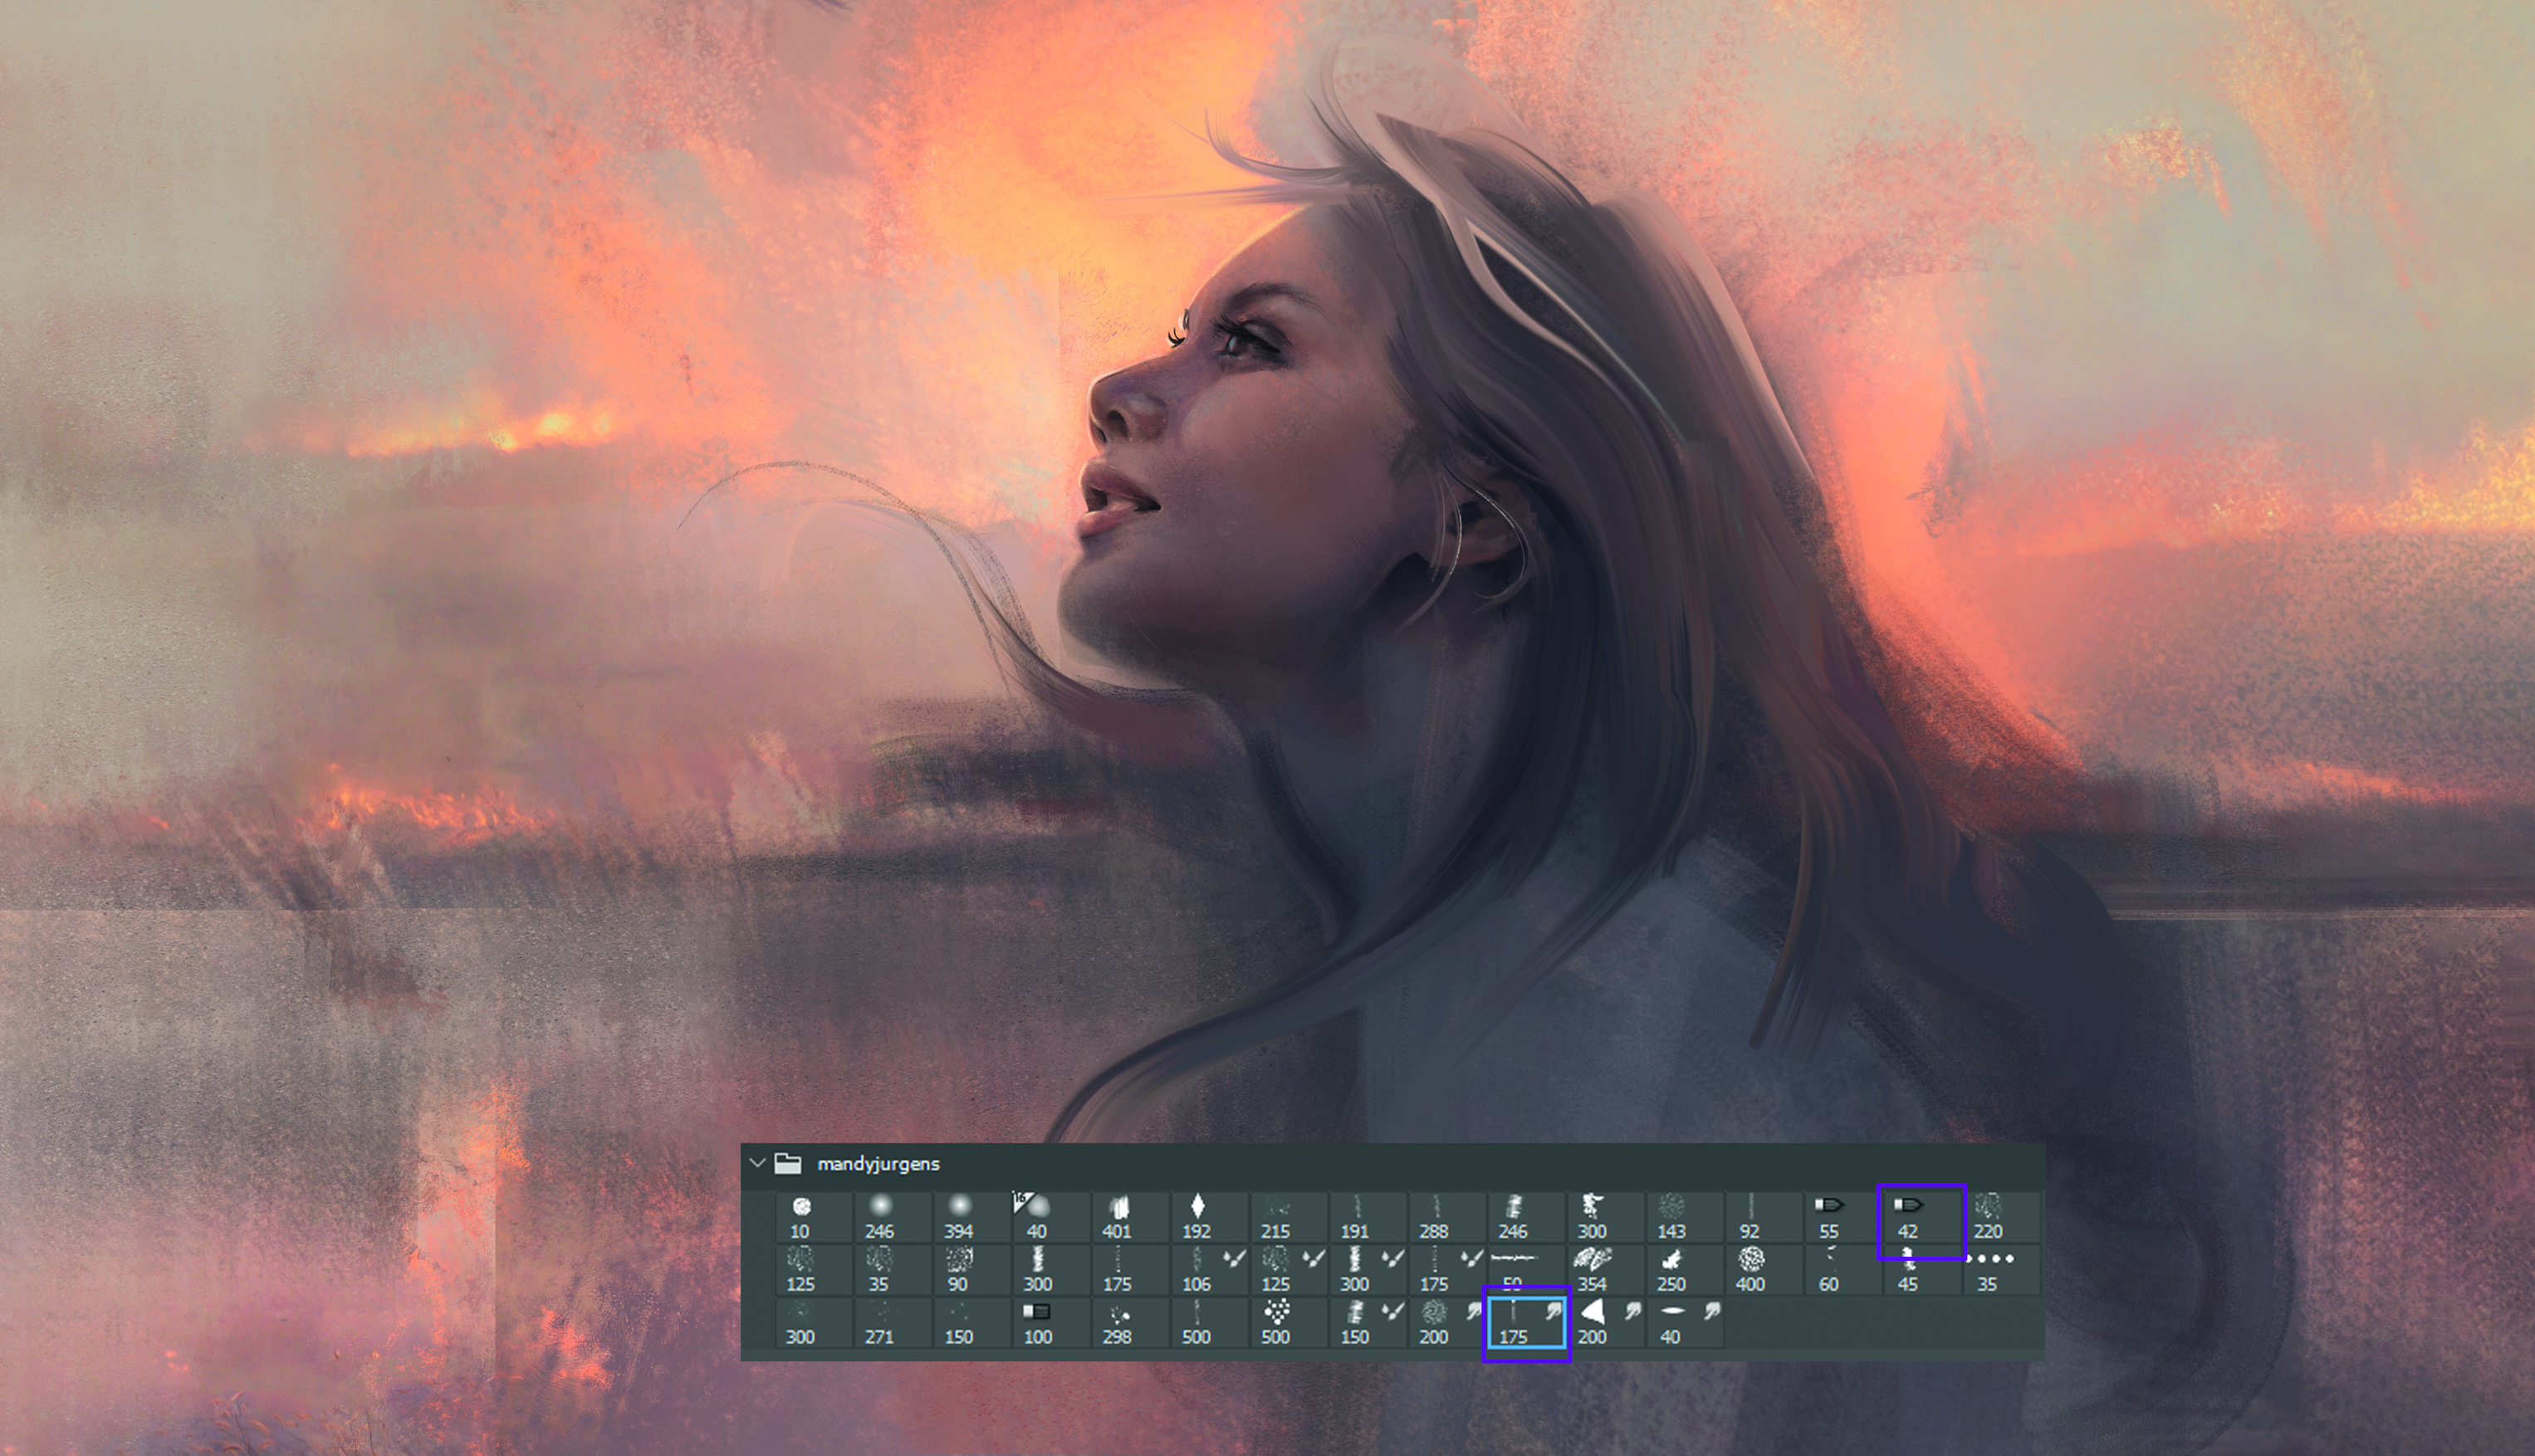
(Image: © Mandy Jurgens)
We want to keep the hair loose and flowy, so we’ll mainly use a smudge brush and the Mixer Brush with a flat-point tip to refine it. The highlighted smudge brush is a resource hog and works best when used on a single layer, so merge a copy of all your layers before using it.
14. Finalising details and sharpening
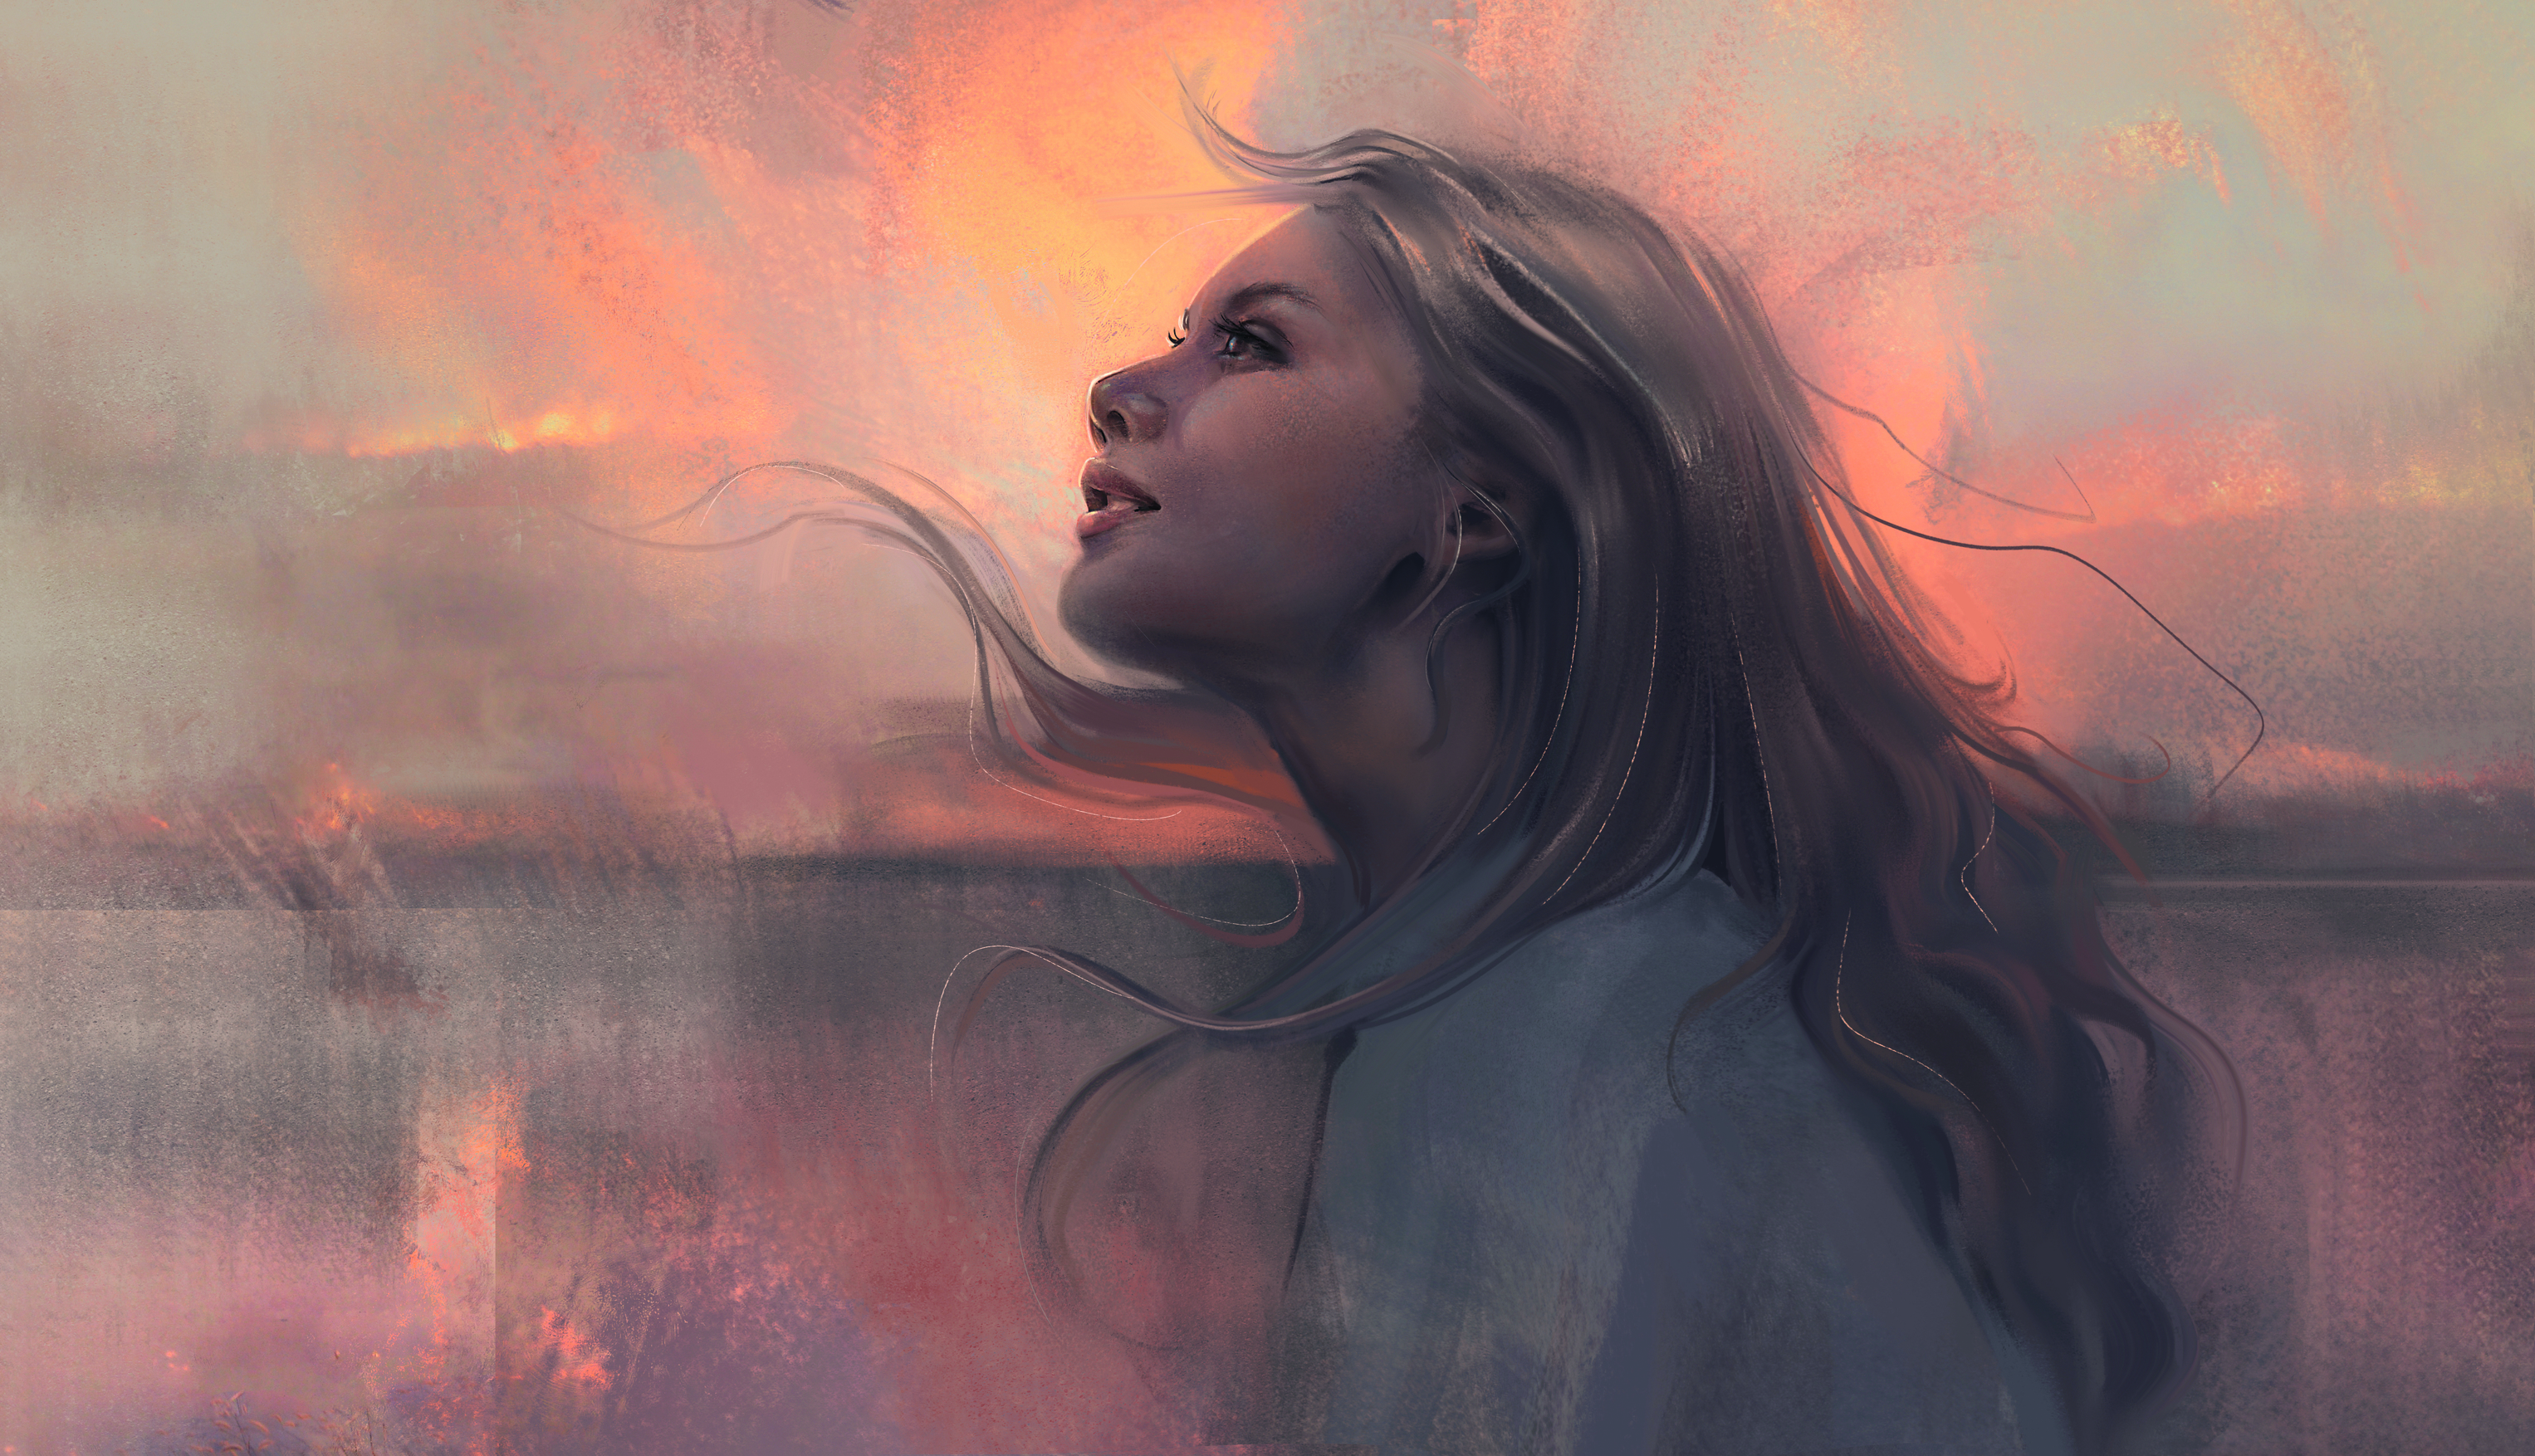
(Image: © Mandy Jurgens)
To finish up, I refined the hair a bit more with the Mixer Brush and some highlights done with a regular brush, and smudged them again to reduce contrast.
I then used the Sharpen tool on the areas I want to direct attention to. Primarily utilising the Mixer Brush ensured I kept the painterly look I wanted.
Get more tutorials in ImagineFX
.Organize the content with appropriate headings and subheadings ( h2, h3, h4, h5, h6). Include conclusion section and FAQs section with Proper questions and answers at the end. do not include the title. it must return only article i dont want any extra information or introductory text with article e.g: ” Here is rewritten article:” or “Here is the rewritten content:”